July
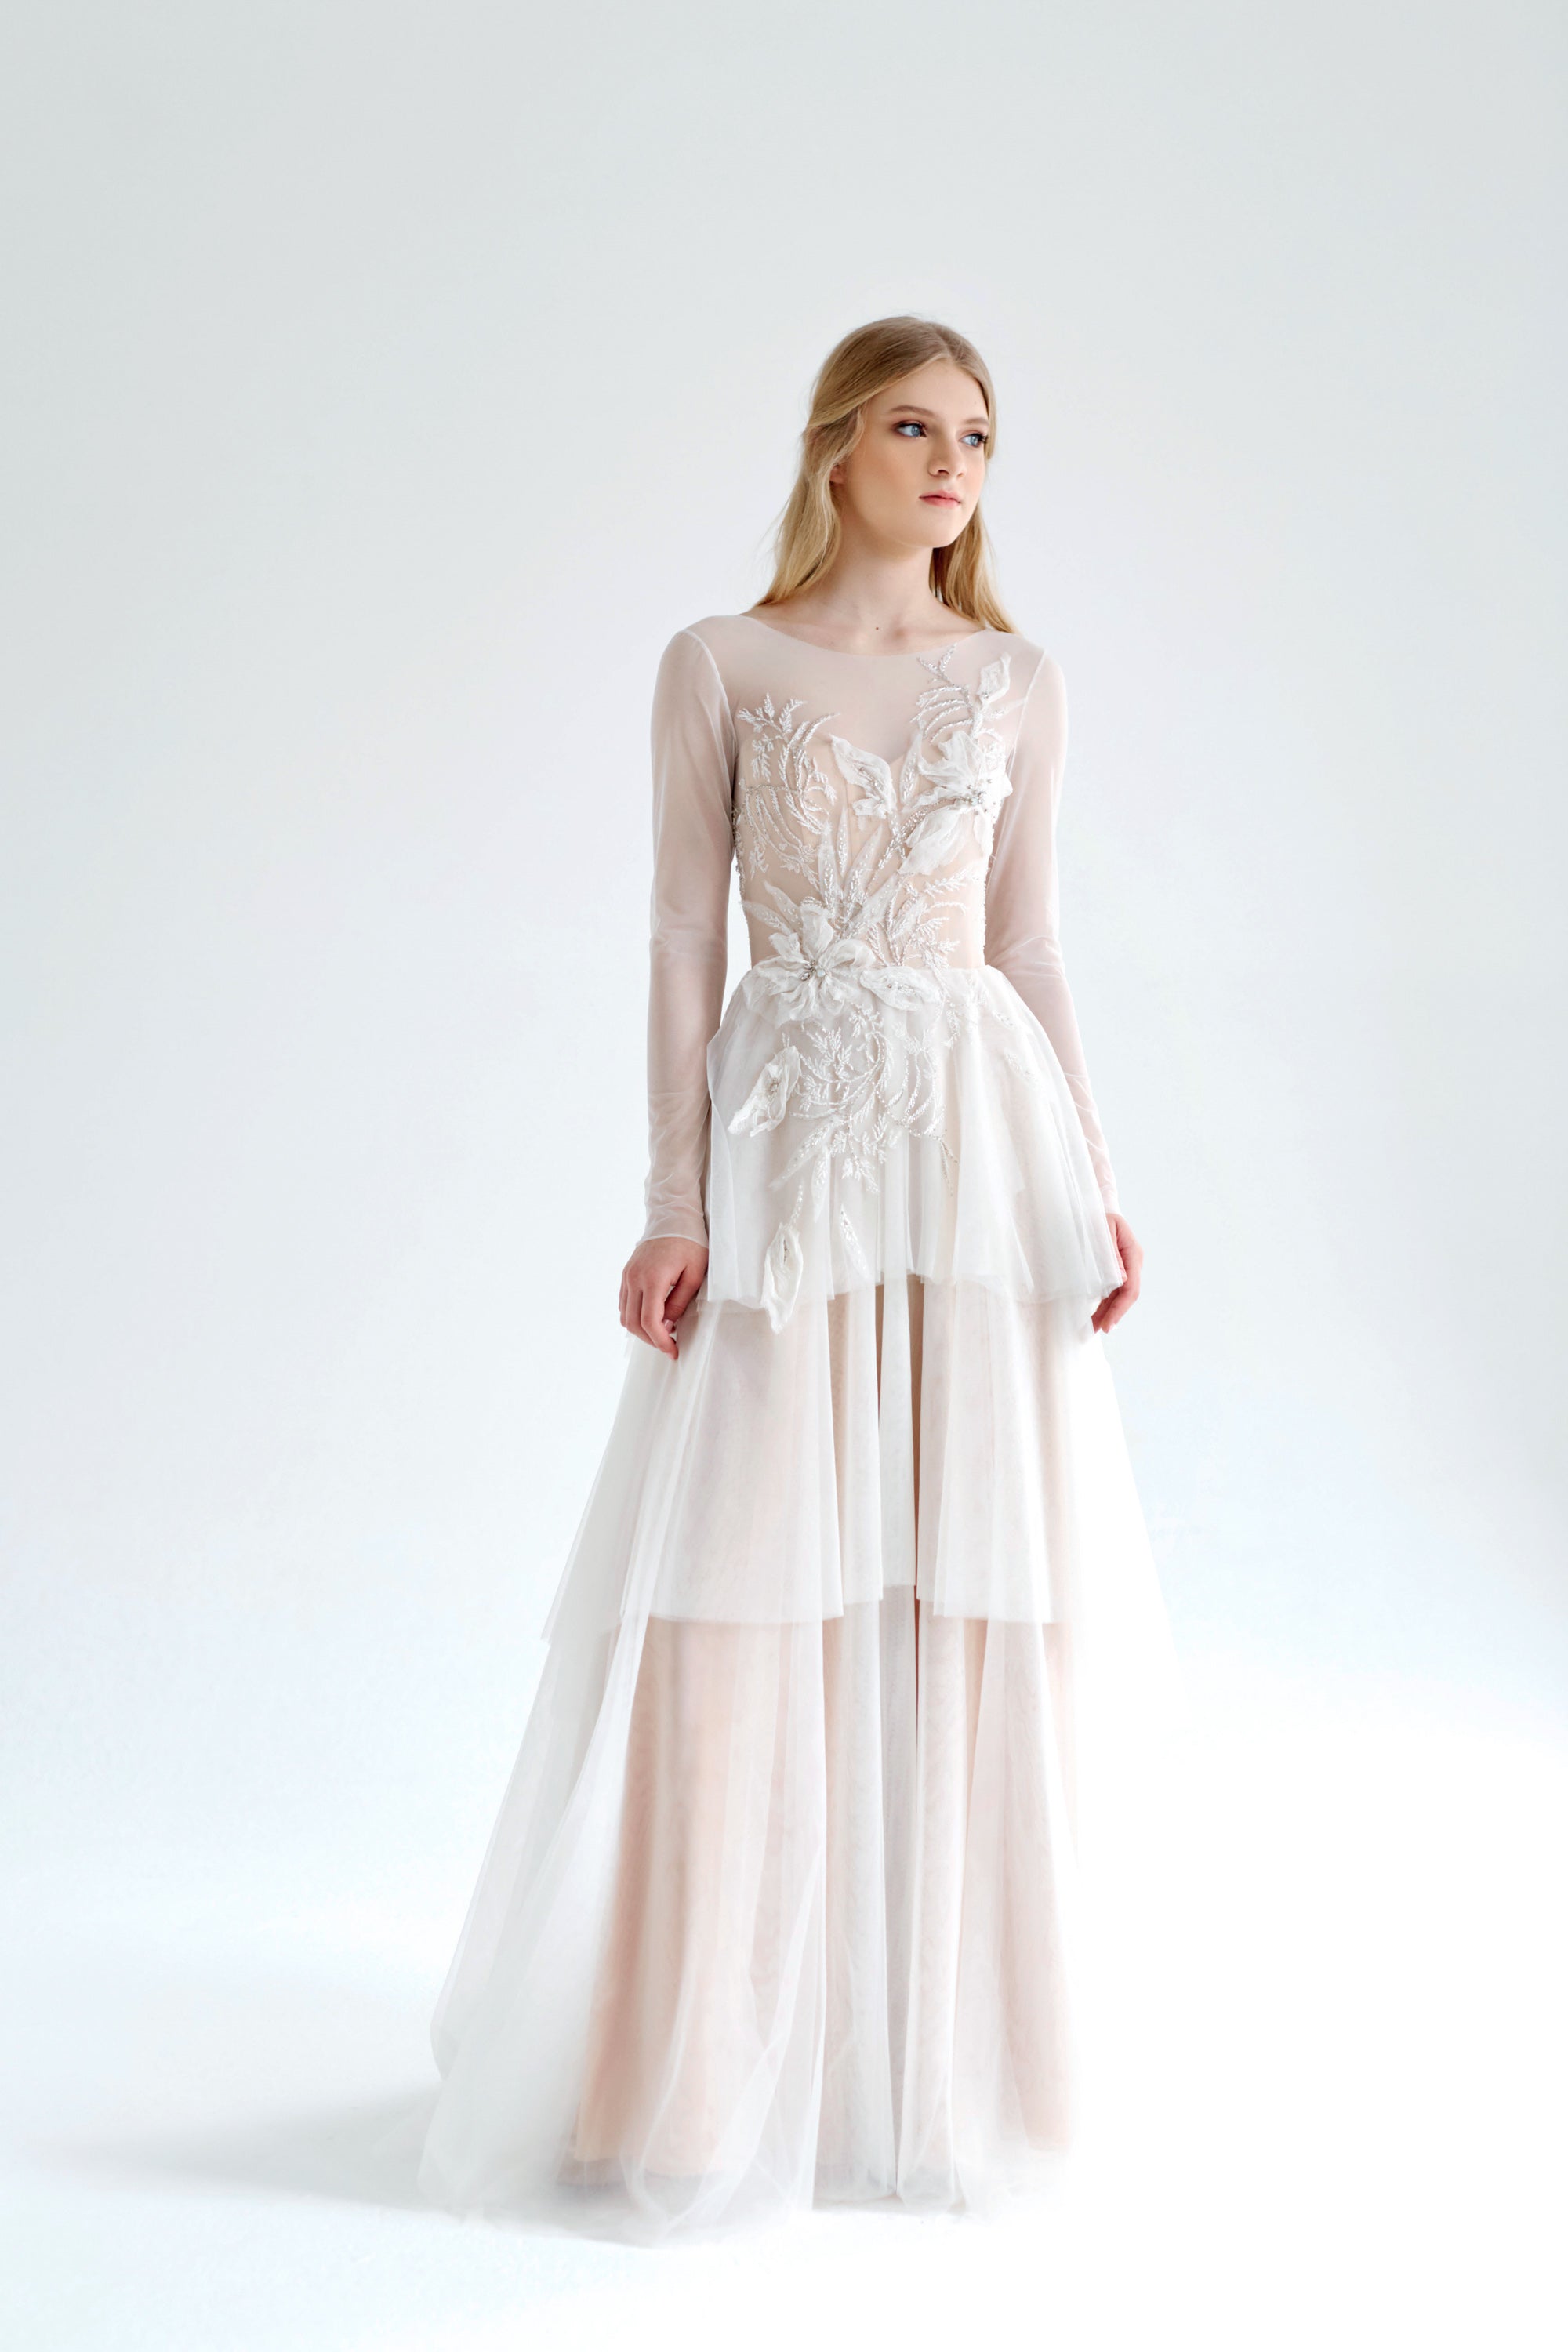
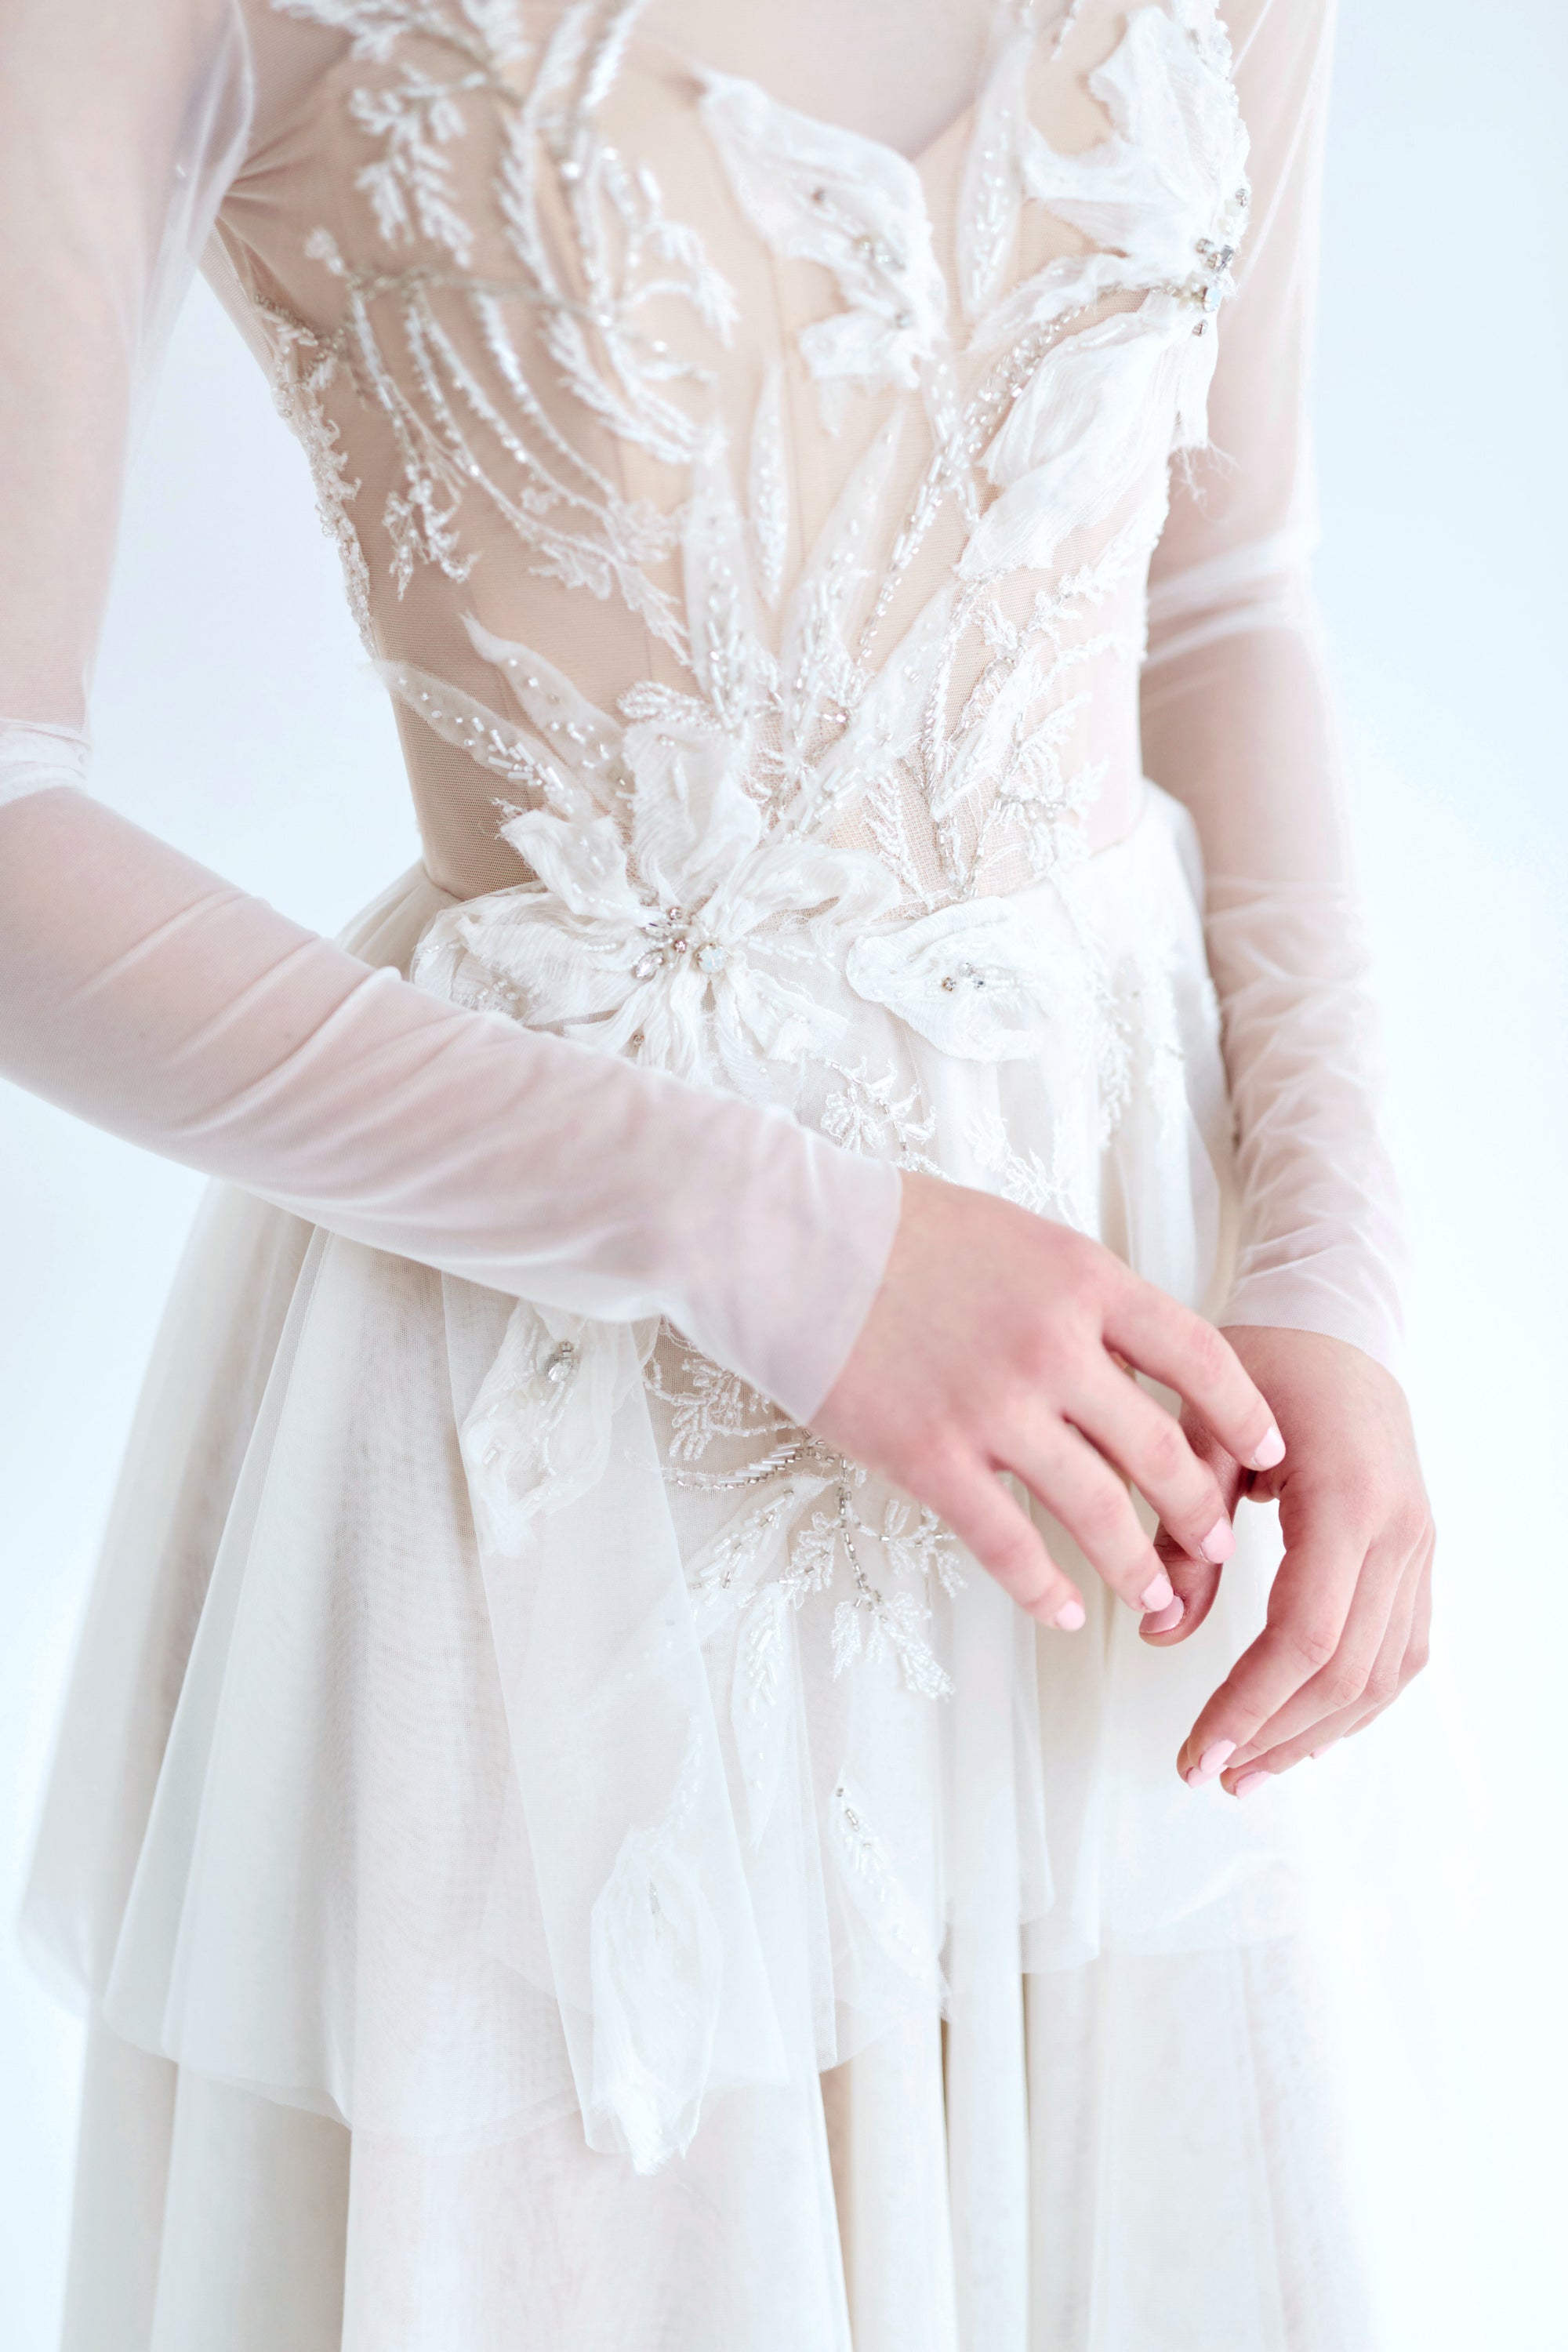
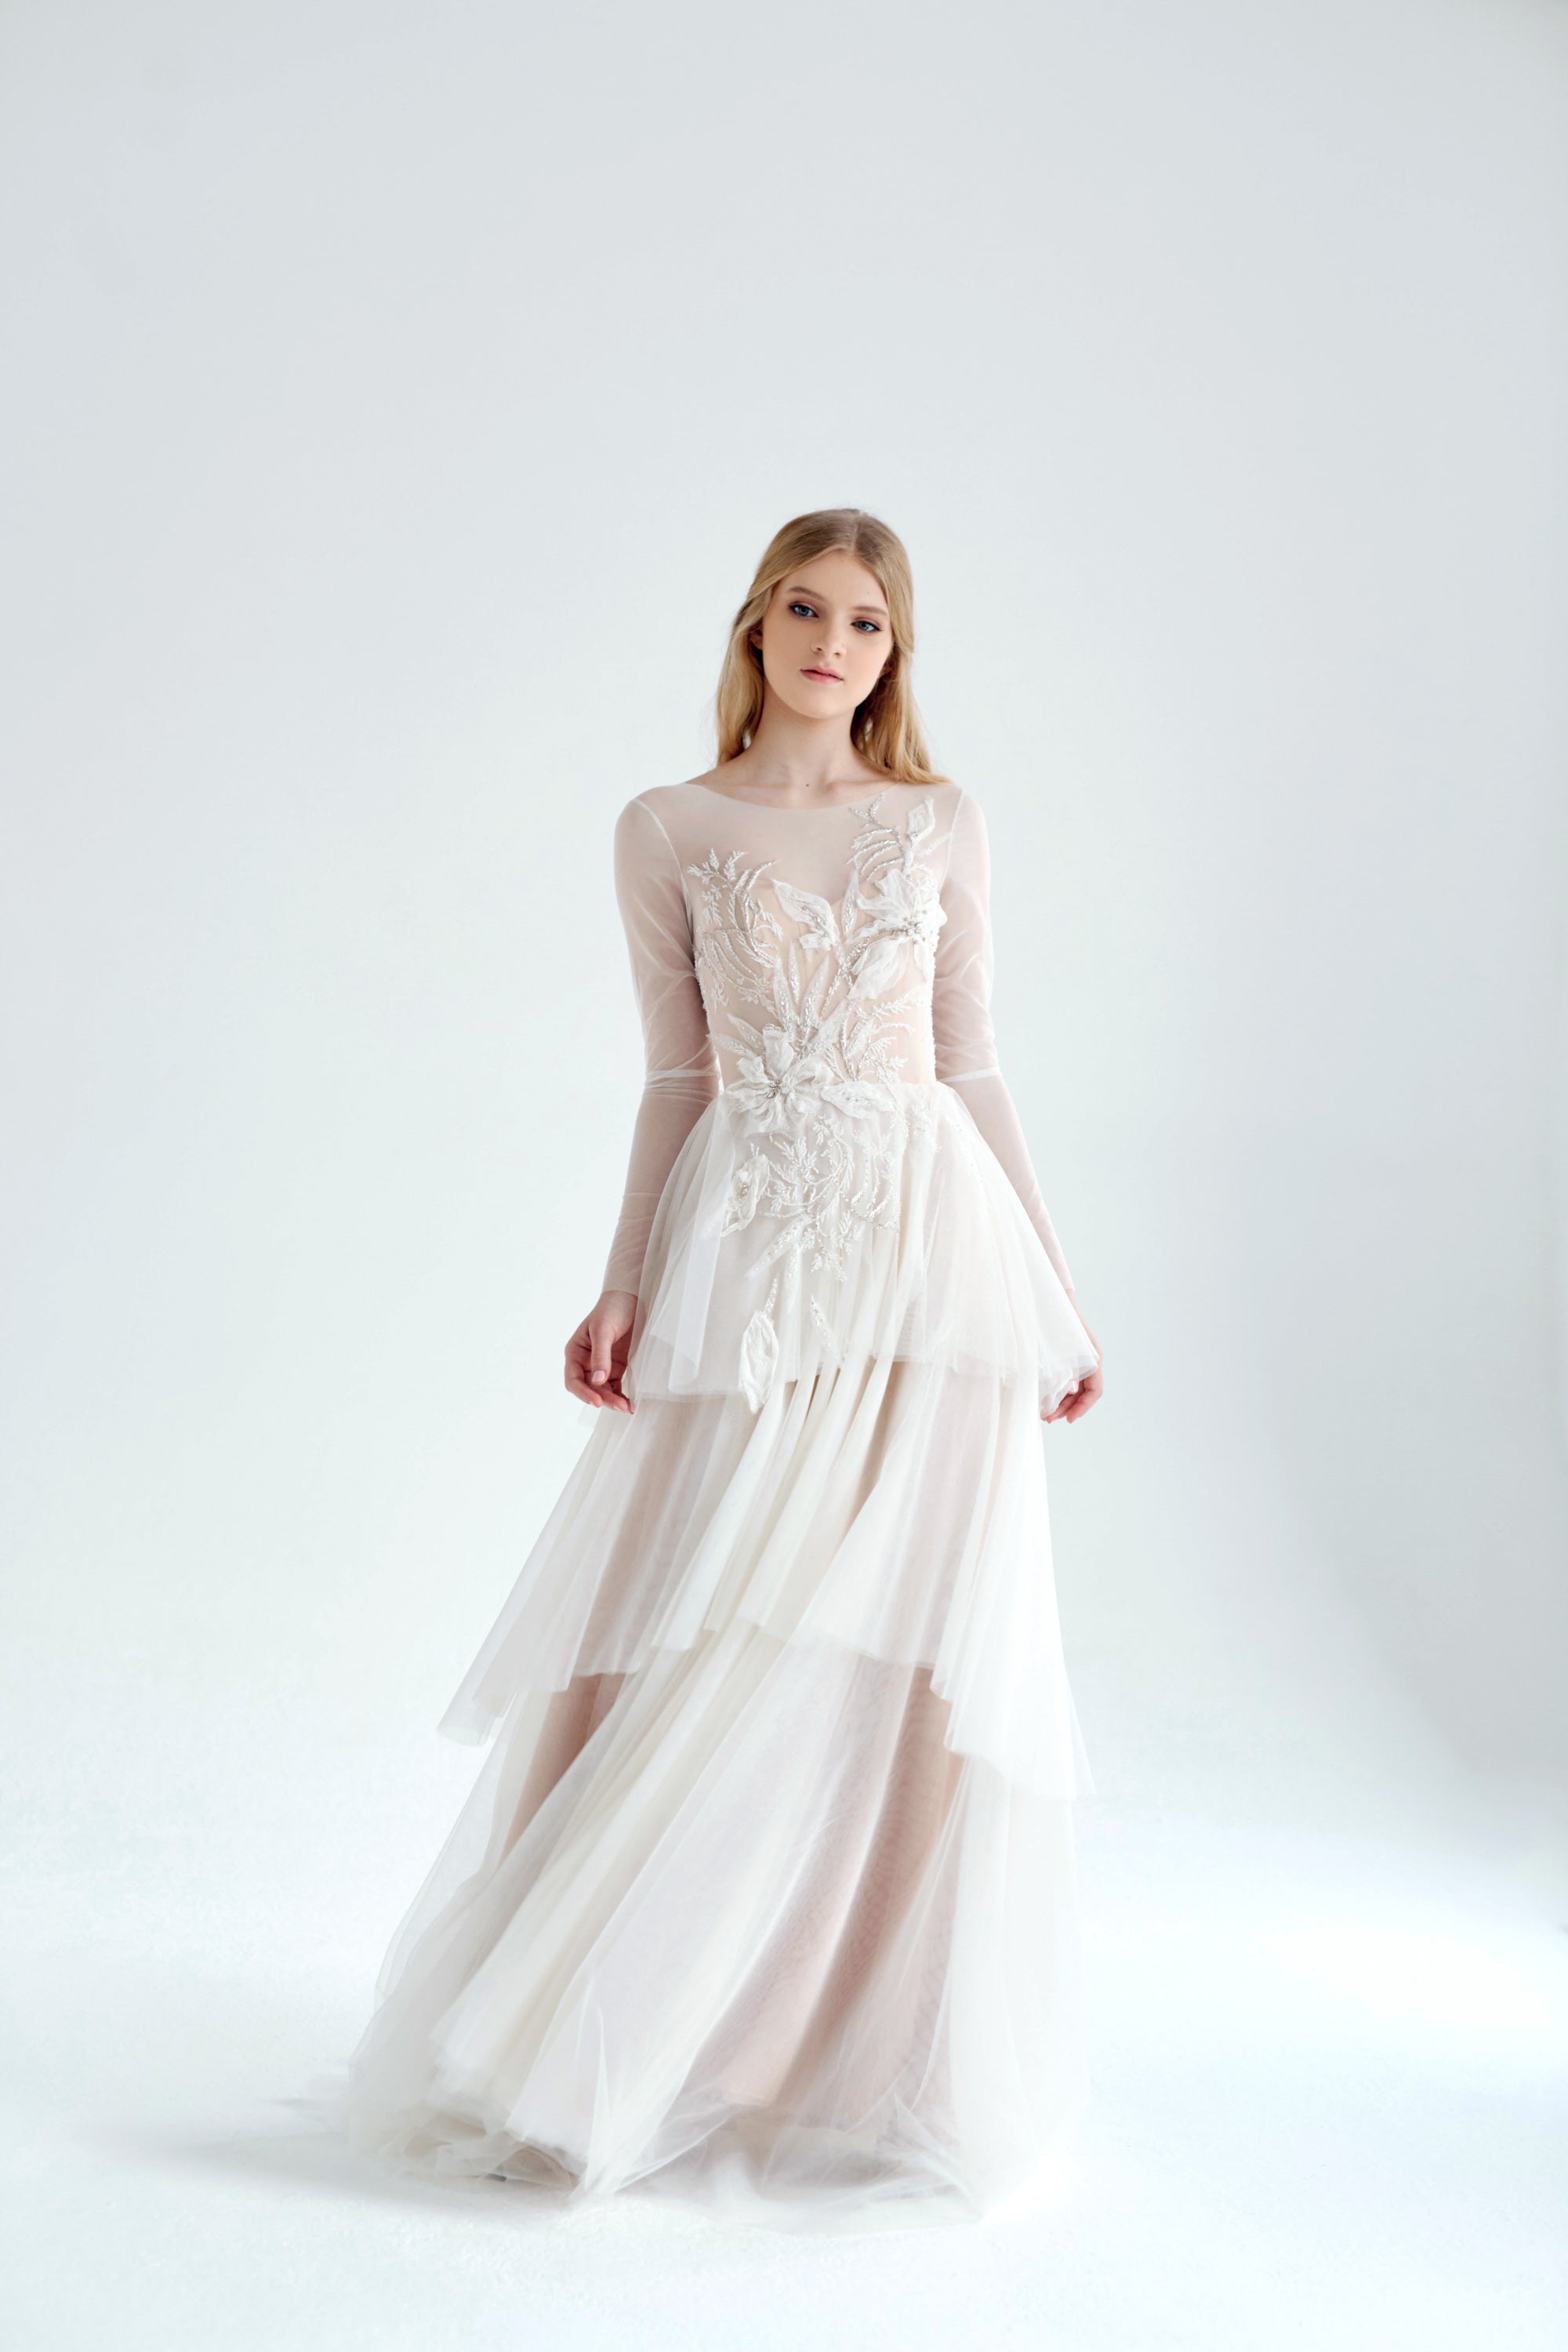
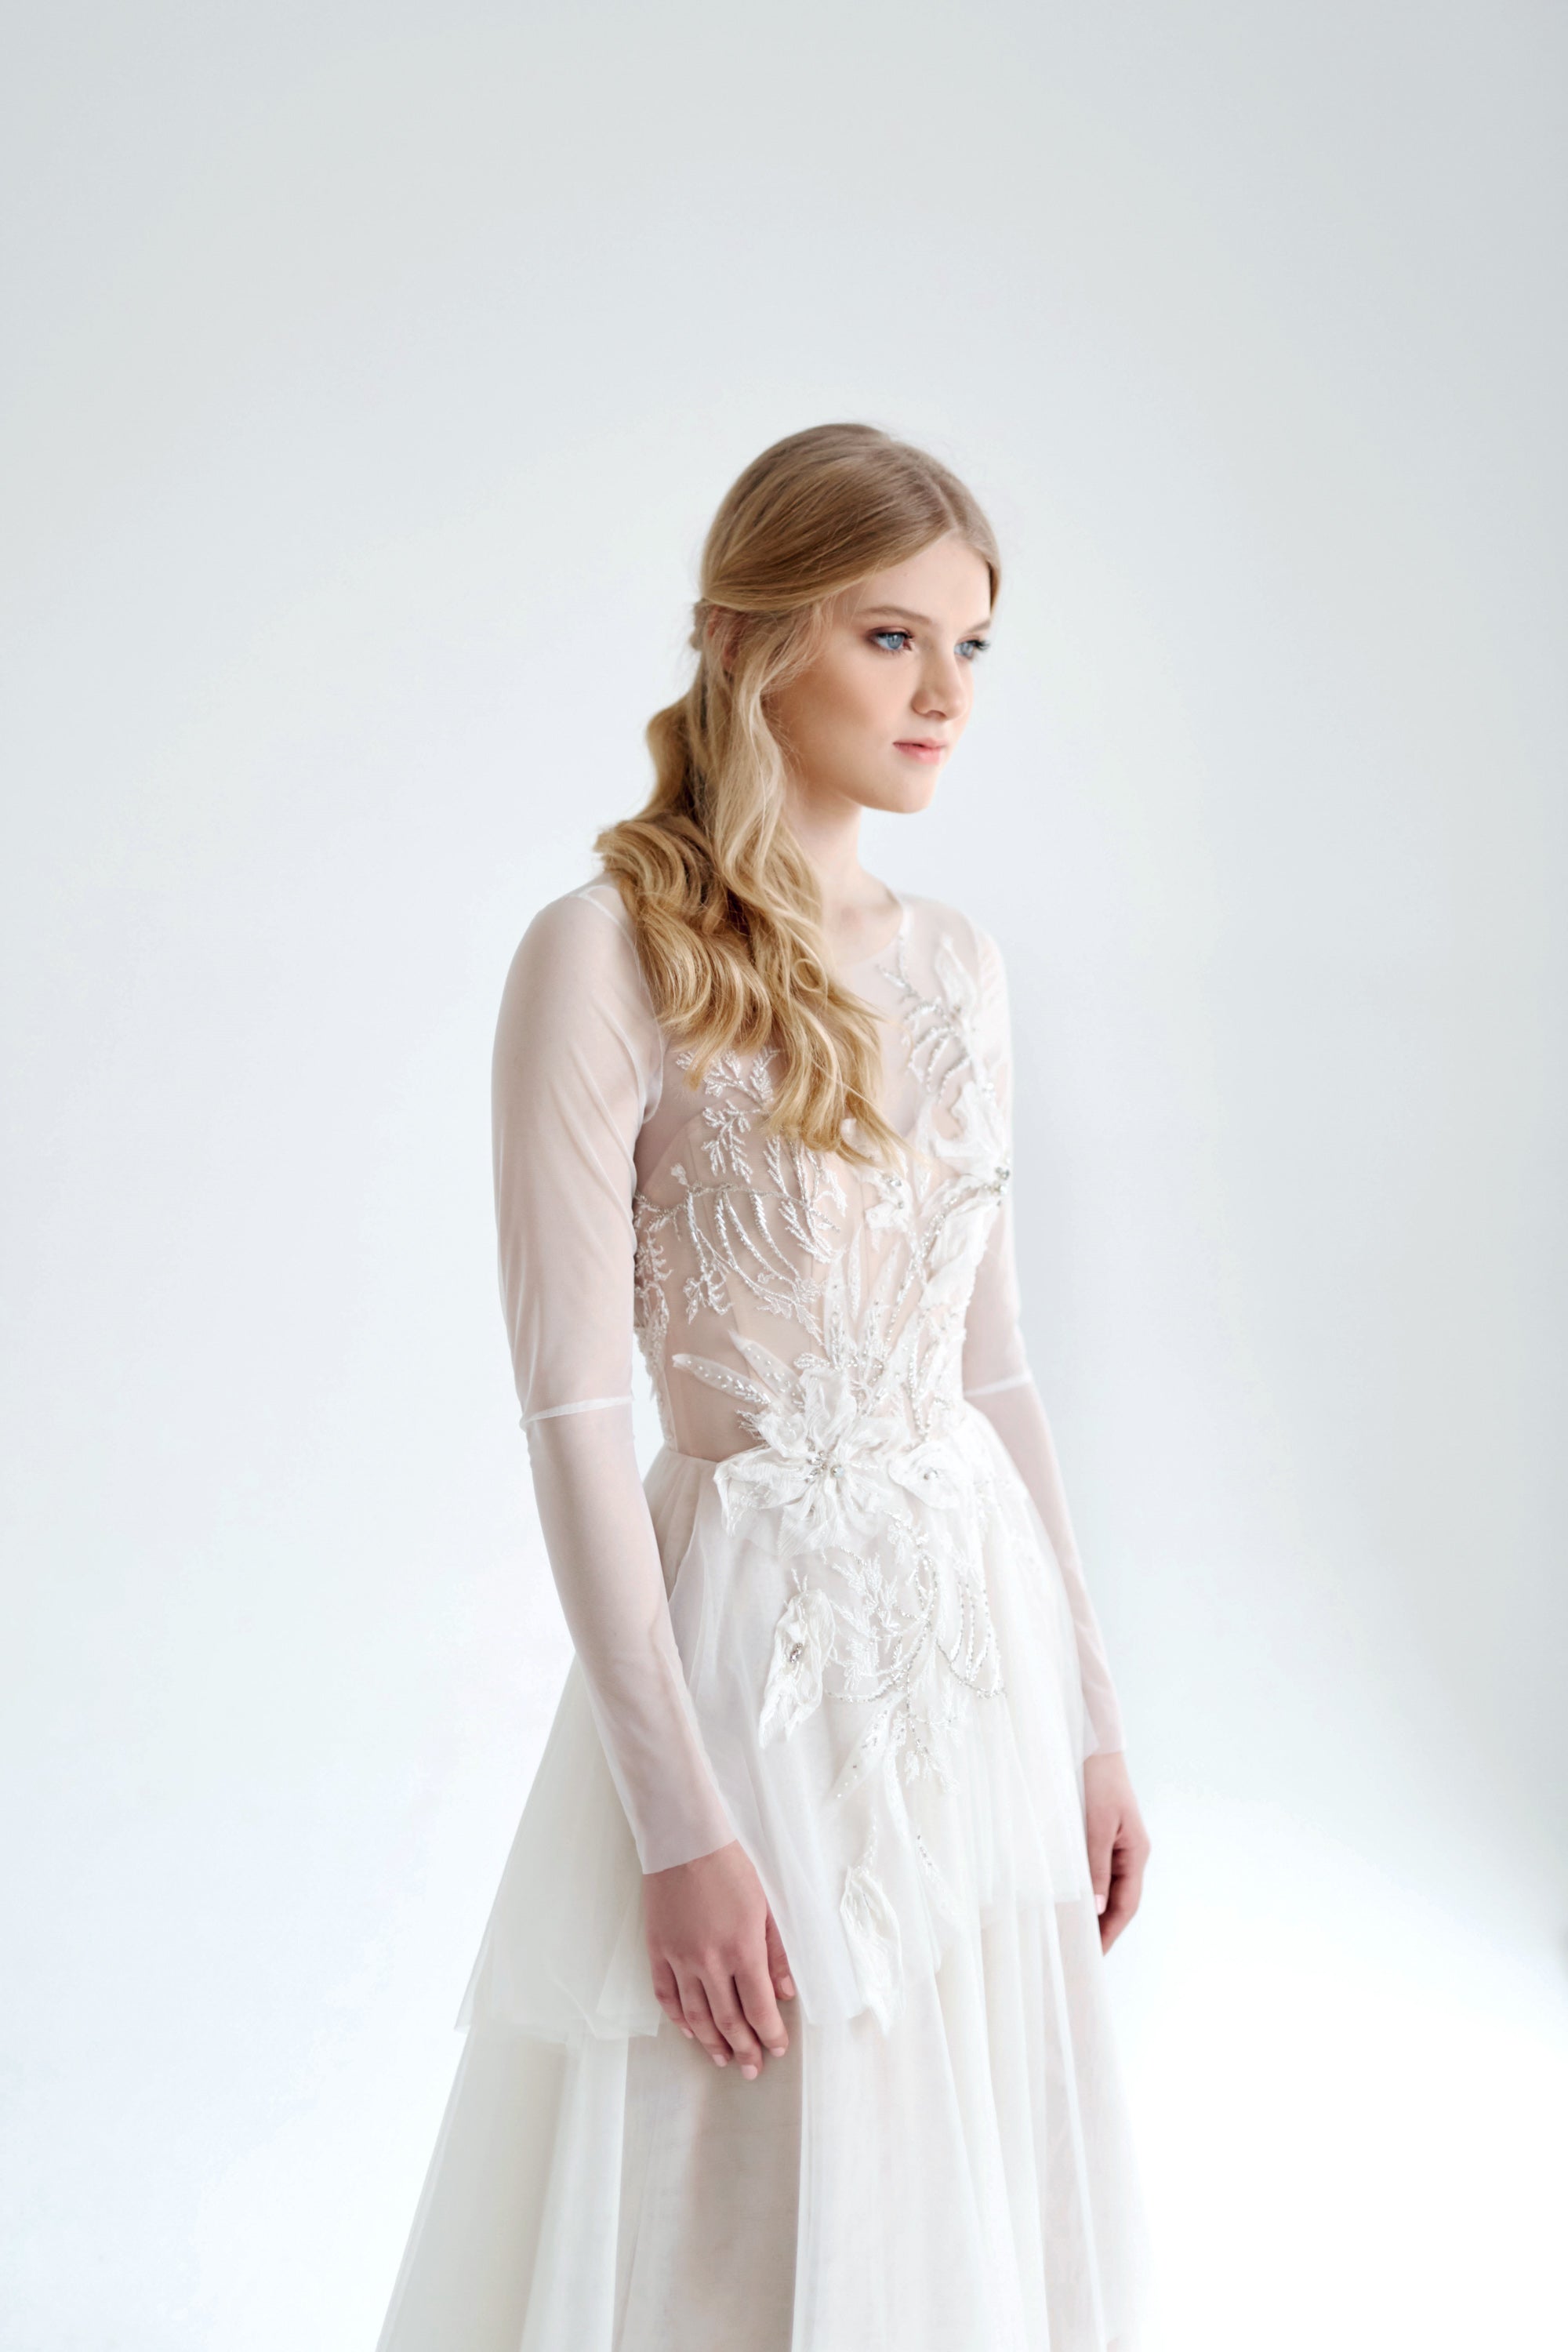
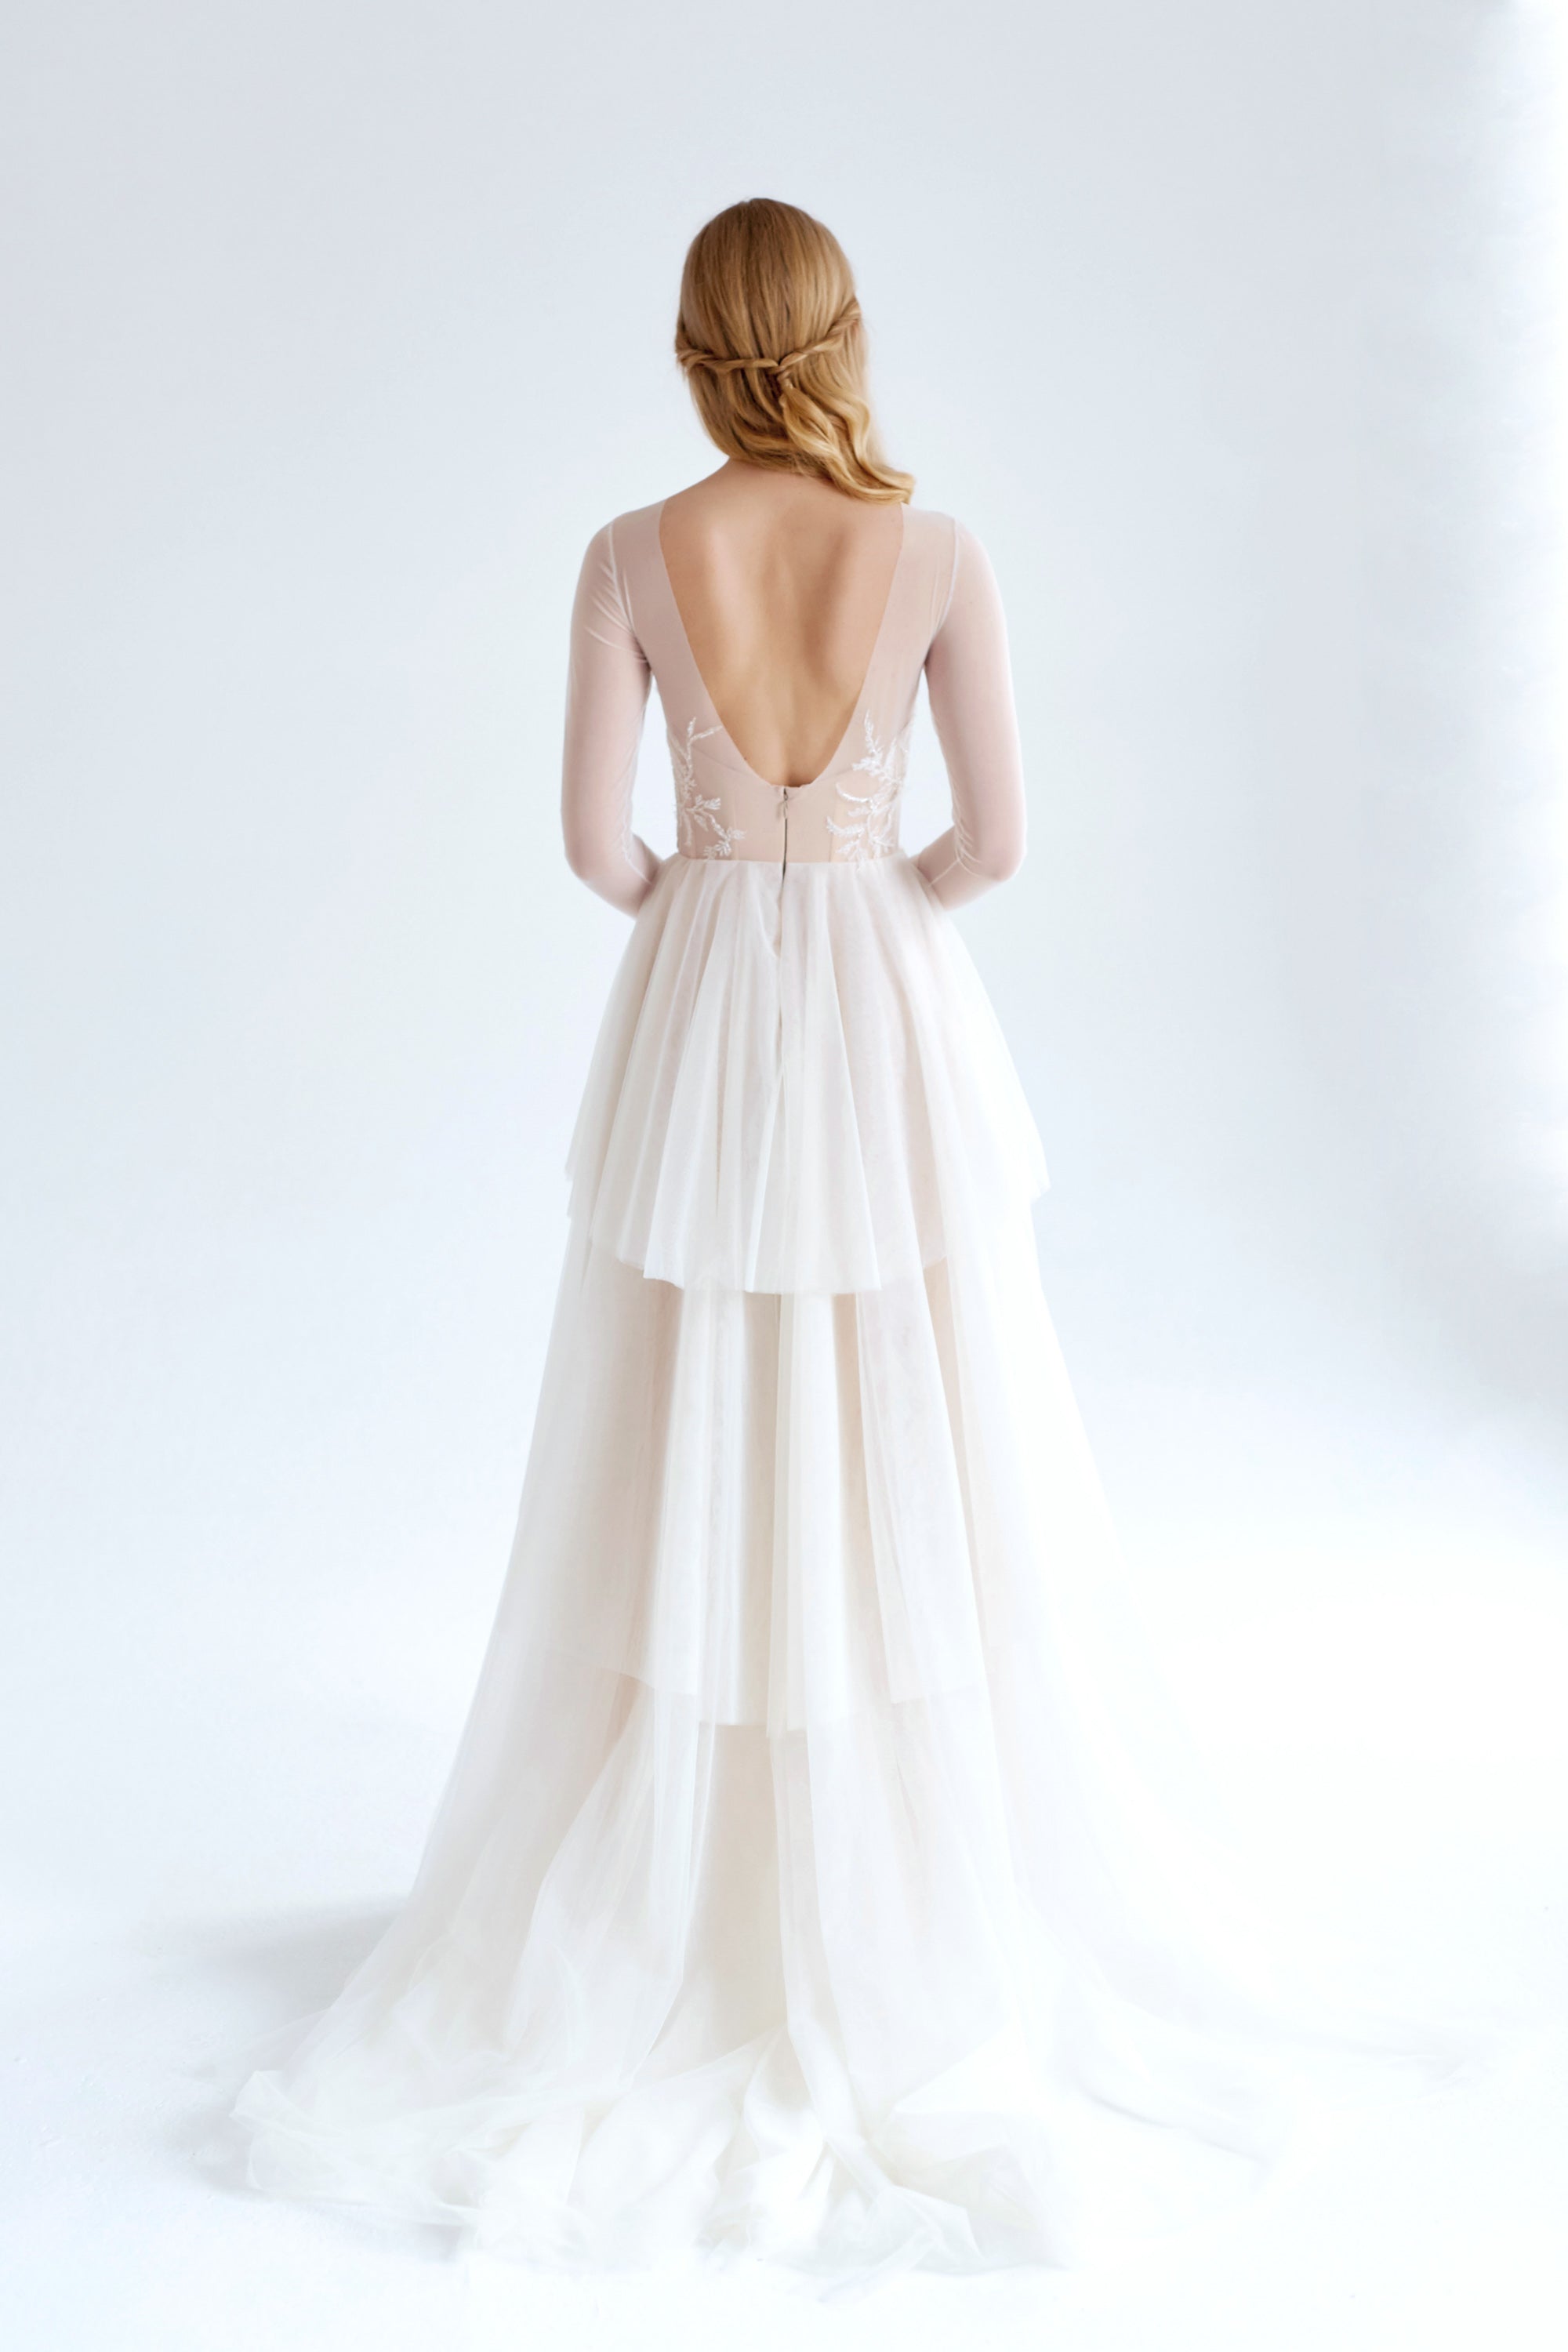
July gown can`t remain unadmired. Like a gentle summer breeze, it is made of the softest ivory mesh and is layered in three levels to emphasize every bride`s movement. The exquisite French lace is embroidered with beading, rhinestones, and 3D silk flower elements. The boned corset bodice and graceful V-shape open back flatter the thin waistline. The dress has a back zipper closure, full-length sleeves, and an elegant train.
Dress details: long-sleeved transparent top, 3D floral embroidery with rhinestones and beading, boned corset bodice, V-shape open back, 3-levels mesh skirt with train, back zipper closure.
Contact Us
If you still have questions, please contact us at inquiries@mywony.com, we will be happy to help you!
How to take your measurements
Please choose your indicative size range. After placing your order you will receive an email requesting your detailed measurements for the perfect fit!
You should not rely on your usual size choosing such an important product like a wedding or evening dress, even if you don’t have any problem buying T-shirts, sweaters and knitted dresses in your usual size. Carefully study the table matches the size shown on the website, which are going to be ordered. From personal experience – they are different. Different brands line the size range may vary, they sew in different patterns and they can be different yardsticks matching a certain size. That is why it is important to know not only its size but its measurements.
Read carefully in the description of the dress the full information, feature cut, materials used. Stretchable wedding dress is a rarity. Wedding gowns, usually have the belt opposed to stretching. If the dress is zip fastener and your waistline is 0,5-1 inch (1,5-2 cm) larger then the waist measure of the dress, you will not be able to cloze the zipper then! Often you can see in the pictures, that dresses on the models are little bit “baggy” on them. It can be incorporated design, but more often this is because of models which are too thin even for the small size dress or just because a different size for the shooting was unavailable. Anyway, responsible seller should always indicate the model parameters and the size of a dress, so that you can estimate the real fitting of the dress.
Imagine how you dress on and dress-off to understand what measurements you should take into consideration and which shouldn’t. And, of course, is repelled bystyle:
– If the dress is entirely fitting, you need to consider everything – chest, waist and hips (if it is also with sleeves you should also take into account the upper arm/biceps measurement).
– If this is well fitting top and the skirt cut free, the hips are not important, so focus on the chest and waist.
– If the dress is free fitting by the chest, the only important measurement – chest.
To take your measurements you need the measuring tape and the elastic tape. With some experience you can take some measurements by yourself, but to make the rest you will need an assistant. Ask someone from relatives to help you or invite a friend. Following the instructions, they can easily cope with the task.
You need to measure your body shapes wearing underwear, which you will wear with a dress. Note, that even nylon tights can take away a few centimeters in the hips, so nothing to talk about the corrective underwear. If the selected dress, for example, is with an low back and it assumes wearing no bra, then you need to take measurements without it. Remember that the bra always adds the volume, even if it has soft cup.
To define the waistline correctly, tie the leastic tape arround your natural waist and don’t take it off until you finish the meausring.
1.Waist circumference
Pass the measuring tape along the cord you just attached. Don’t make it too tight, you should be able to fit a finger between the tape and your waist. Remember to keep the tape leveled in a straight line across the back and front of your waist. Don’t breath in and pull in your stomach, you can’t cheat if you want your dress to be wearable!
2. Upper bust circumference
Pass the measuring tape around your back and up to the front, at the level of your armpits. Keep the tape leveled in a straight line across your back and bust. Don’t make it too tight, you should be able to fit a finger between the tape and your body. Don’t hold your breath and pump up your chest, simply relax and breathe normally.
3. Bust circumference
Pass the measuring tape around your back and up to the front, at the level of the fullest part of your bust.
4. Lower bust circumference (underbust)
Pass the measuring tape around your back and up to the front, at the level just below your breasts.
5. Central front waist length
It measured vertically from the jugular fossa to the waist line.
6. Bust point
Measure from the top of your shoulder to the fullest point of your bust. At the same time take the following measure 8 – front waist length (see below).
7. Front waist length
Measure the vertical distance from the top of your shoulder to your waist. Make sure the tape passes over the fullest point of your bust. Keep the tape in a straight vertical line.
8. Back length
Measured from the highest point of the shoulder at the base of the neck to the waist, parallel to the spine.
9. Shoulders
Measure the horizontal distance between the ends of your shoulders. The end of your shoulder is the small bump right before the start of your upper arm. You should keep the tape leveled in a straight line between your shoulders, but keep the tape flattened on your skin. Don’t swell out your chest and push your shoulder blades back, you should relax and stand in a normal standing position.
10. Back width
Measure the distance between the back tops of your armpits.
11. Bust width
Measure the distance between the front tops of your armpits.
12. Breasts
Measure the distance between your nipples.
13. Neck circumference
Pass the measuring tape around the base of your neck. Don’t make it too tight, you should be able to fit two fingers laid flat between the tape and your neck.
14. Upper arms
Relax your arm and let it hang at your side. Your bicep should be slightly tensed. Pass the measuring tape around the thickest part of your upper arm. Don’t make it too tight, you should be able to fit a finger between the tape and your arm.
15. Armpits
Pass the measuring tape around your armpit and measuring the circumference of your shoulder. Keep the tape in straight vertical line around your armpit. Don’t make it too tight, you should be able to fit one finger between the tape and your body.
16. Cuffs
Depending on the style of sleeve you have chosen, pass the measuring tape around your arm or wrist where your sleeve should end and measure that circumference. Don’t make it too tight, you should be able to fit a finger between the tape and your arm.
17. Sleeve length
Measure from the top of your shoulder, down to the point where you want your sleeve to end (if your dress has sleeves). Your arm should be a little out from your body, not stuck right against your side.
18. Hip circumference
Pass the measuring tape around the widest part of your hips and the fullest part of your bottom. Don’t make it too tight, you should be able to fit a finger between the tape and your hip.
19. Skirt length
It is recommended to take measurements wearing your wedding shoes/heels. If you don’t have the wedding shoes yet, you can wear another pair, with the heel height which will match the desired one. Measured vertically on the side seam from the waist to the floor.
20. Front waist-crotch-back waist
Pass the measuring tape from the center of the waistline across the crotch to the center of back waistline. (if you order the bodysuit)
21. Hips height
Measure the distance from the base of your nape, which is the small bump where your neck meets your back, to the fullest part of your bottom.
Choose options
Questions & Answers
Have a Question?
Be the first to ask a question about this.